MDM IntegrationsKandji
Setup Guide
Step-by-step instructions for connecting Kandji to Pult Presence.
You need to create an API token in Kandji with the required device permissions, then enter the credentials into the Pult Dashboard.
Credentials you'll collect along the way:
| Credential | Source |
|---|---|
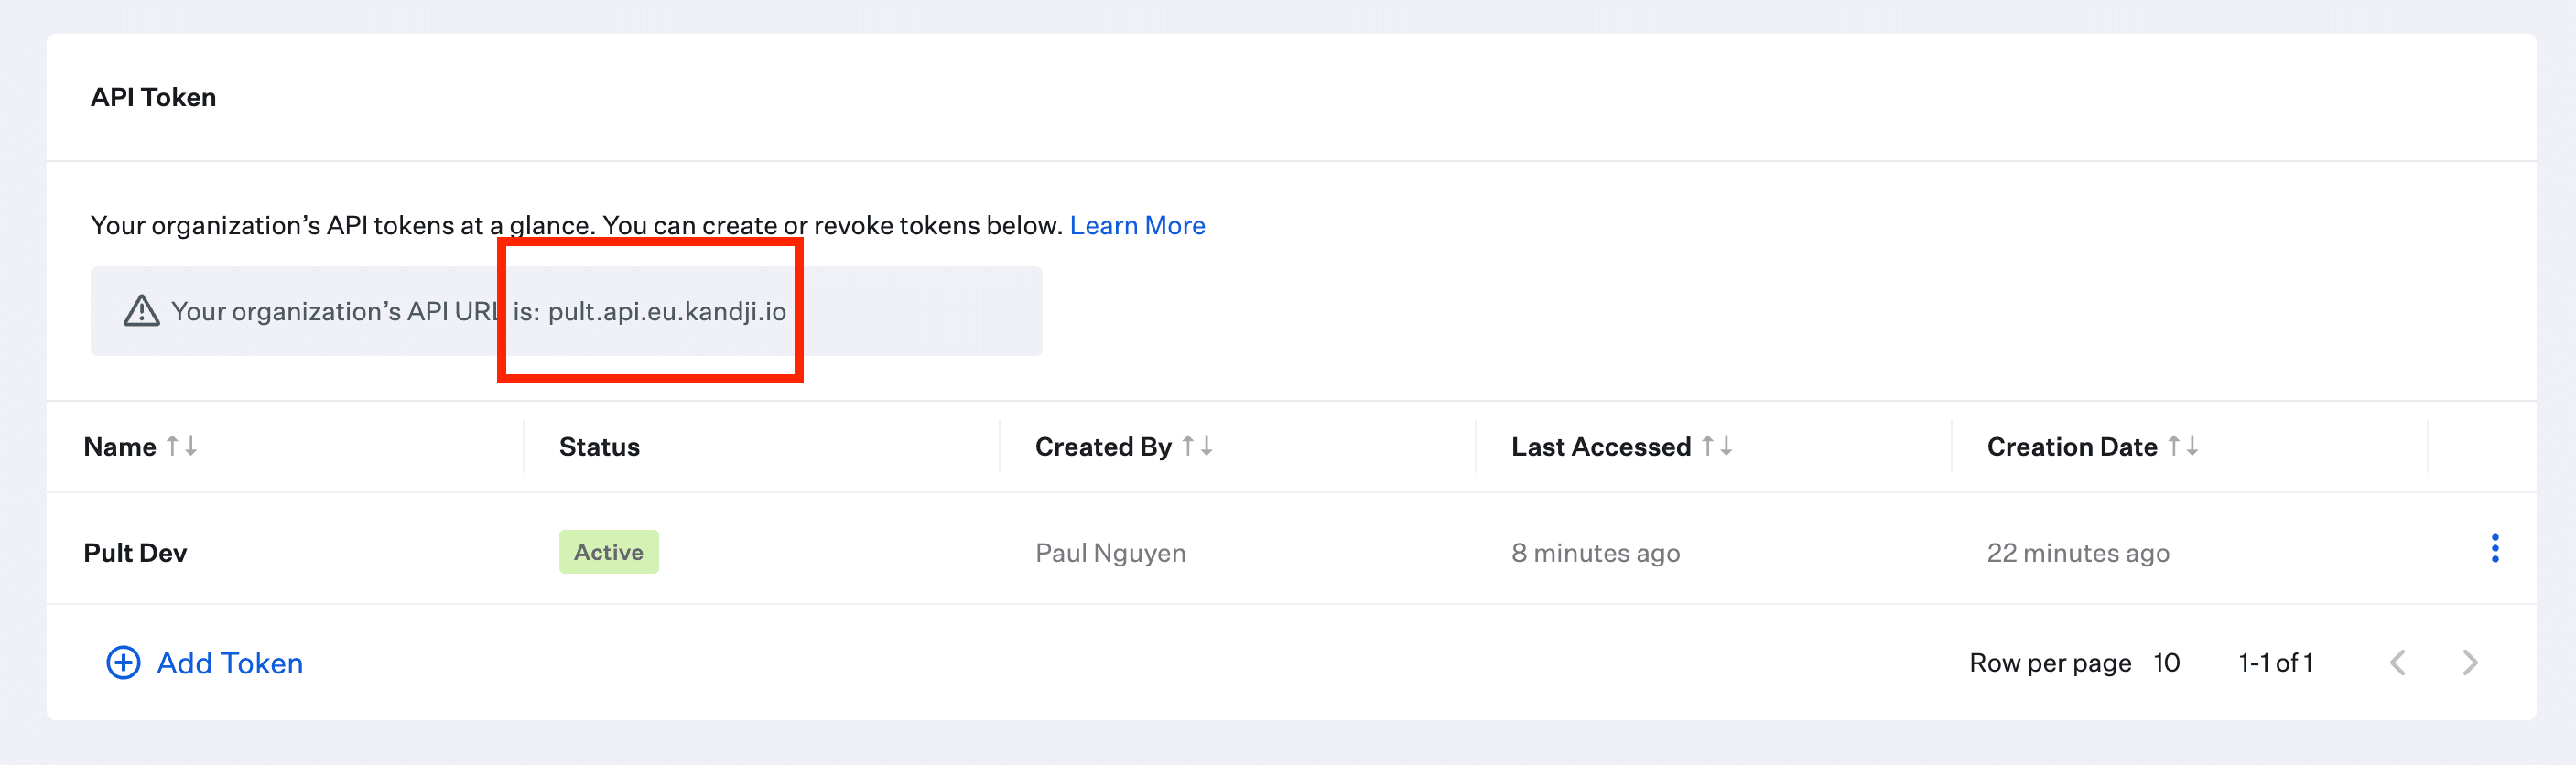
| API URL | Your Kandji API URL (shown in the API token settings) |
| API Token | Generated when creating the API token |
Step 1: Create an API Token in Kandji
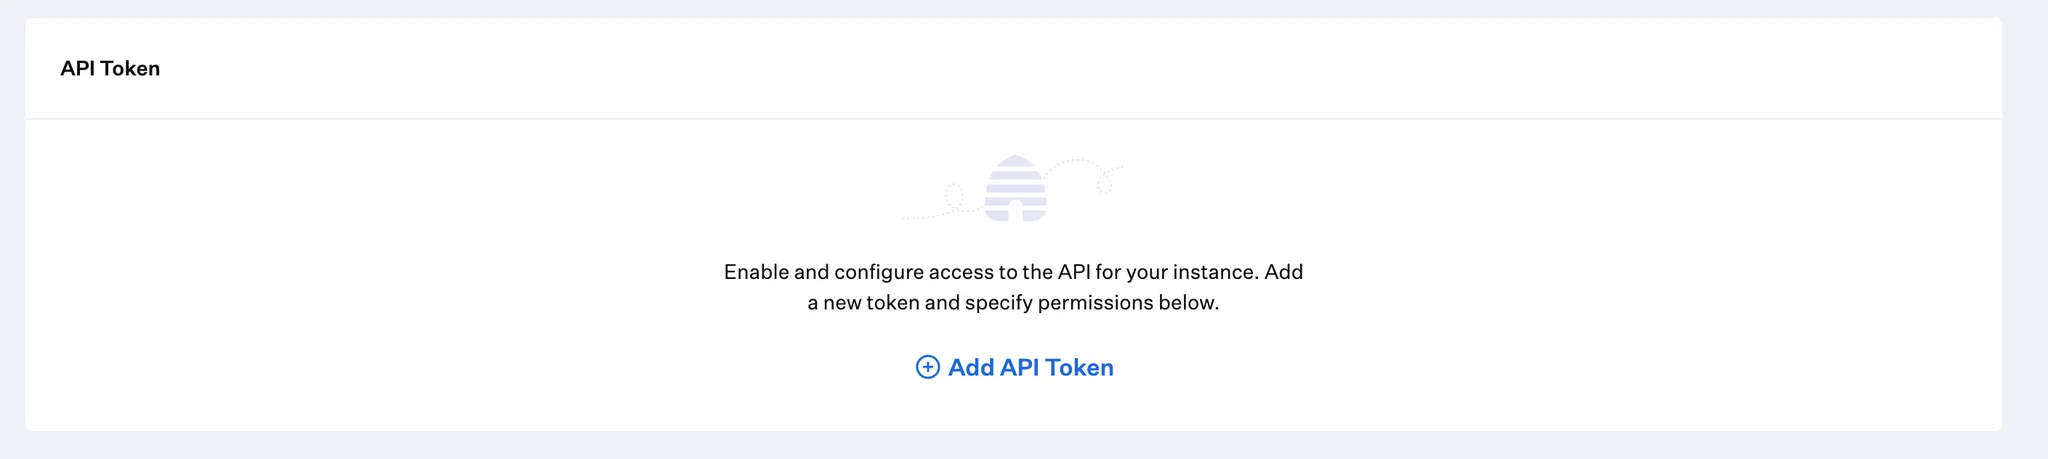
- In the Kandji dashboard, go to Settings → Access → API Token.
- Click Add API Token.
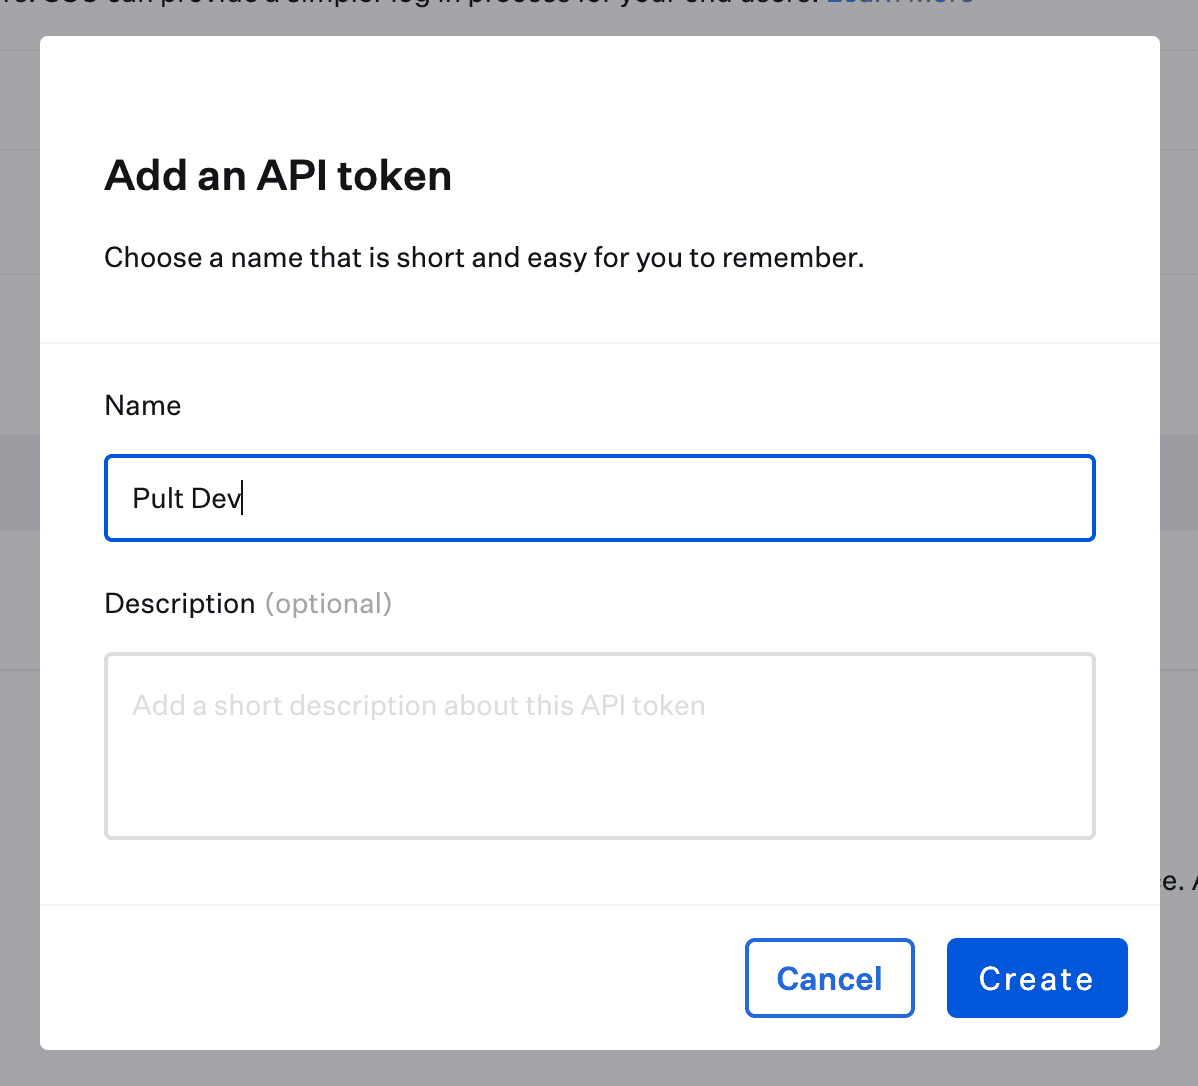
- Enter a name (e.g., "Pult") and optionally a description.
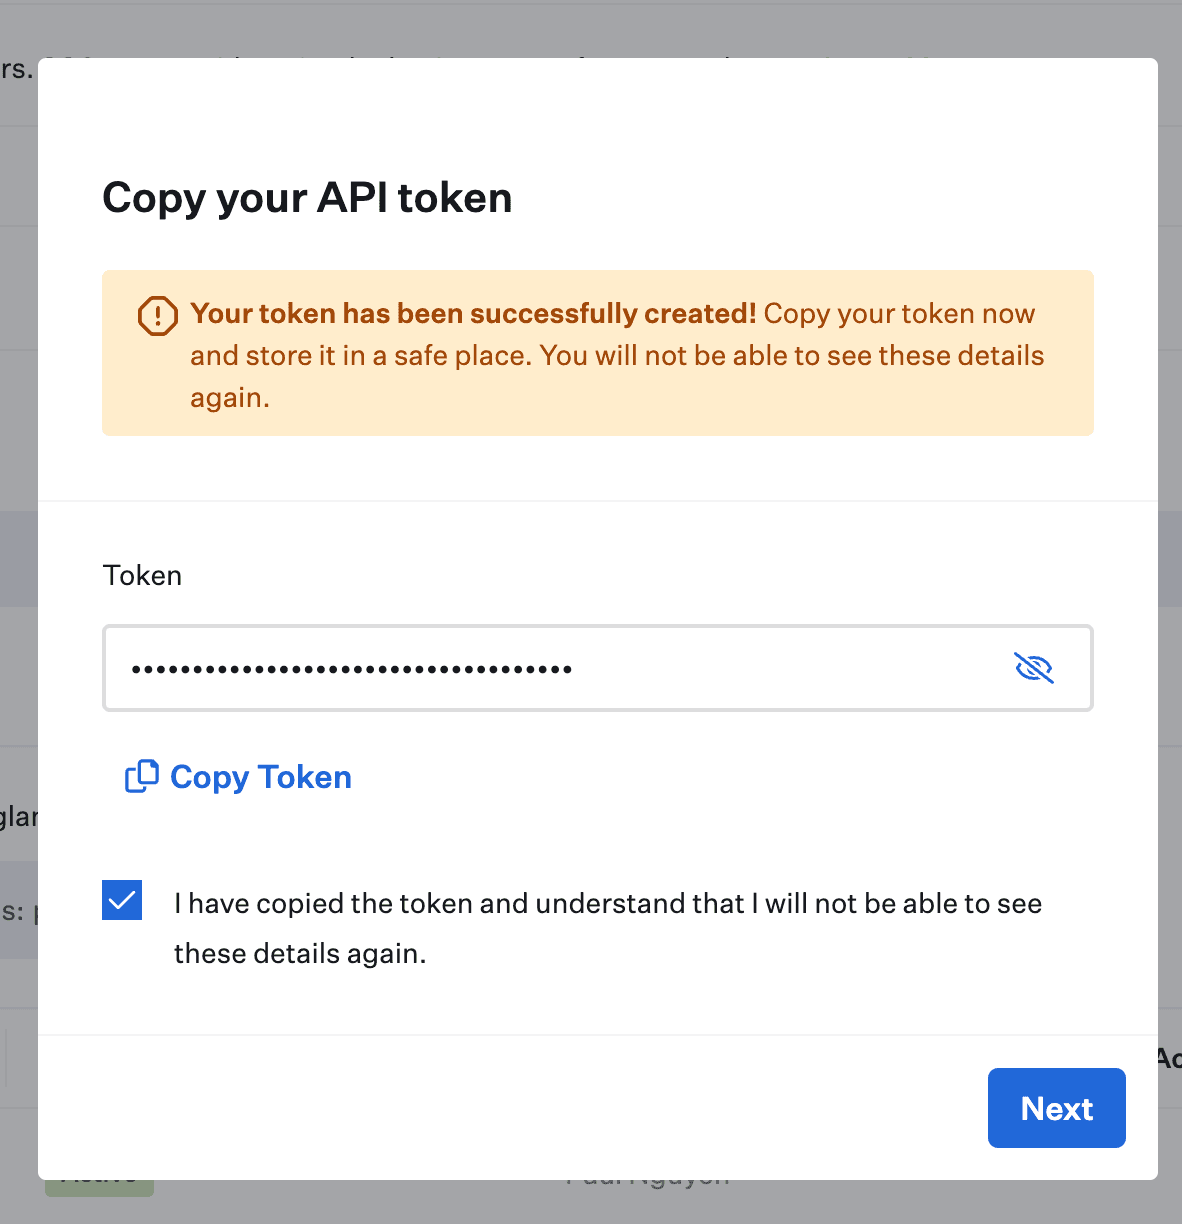
- Click Create, then copy the Token immediately -- it will not be shown again.
- Click Next to configure permissions.
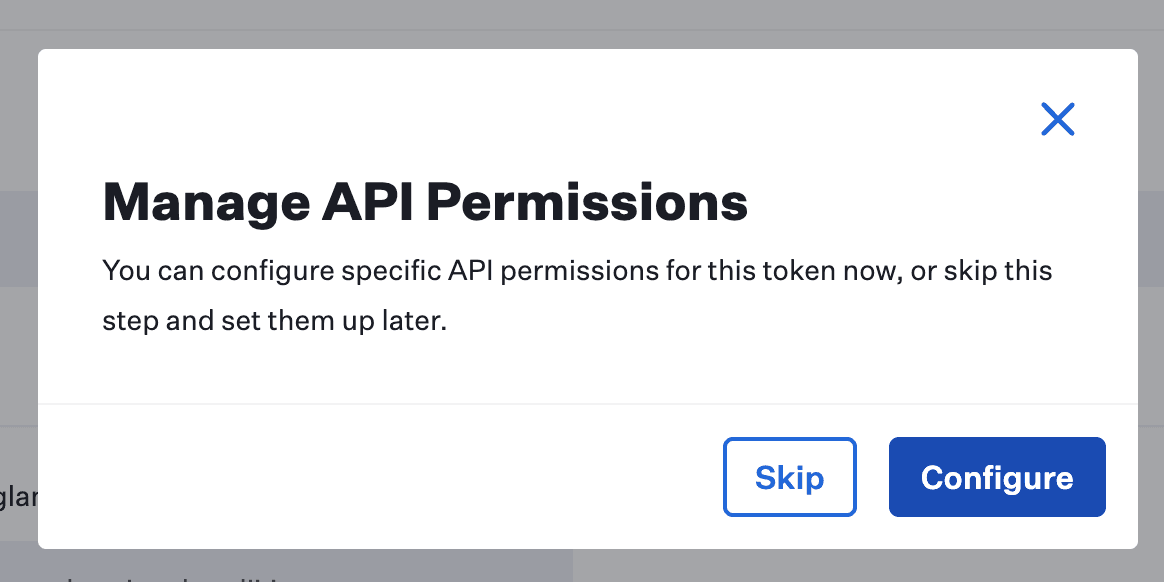
Step 2: Configure API Permissions
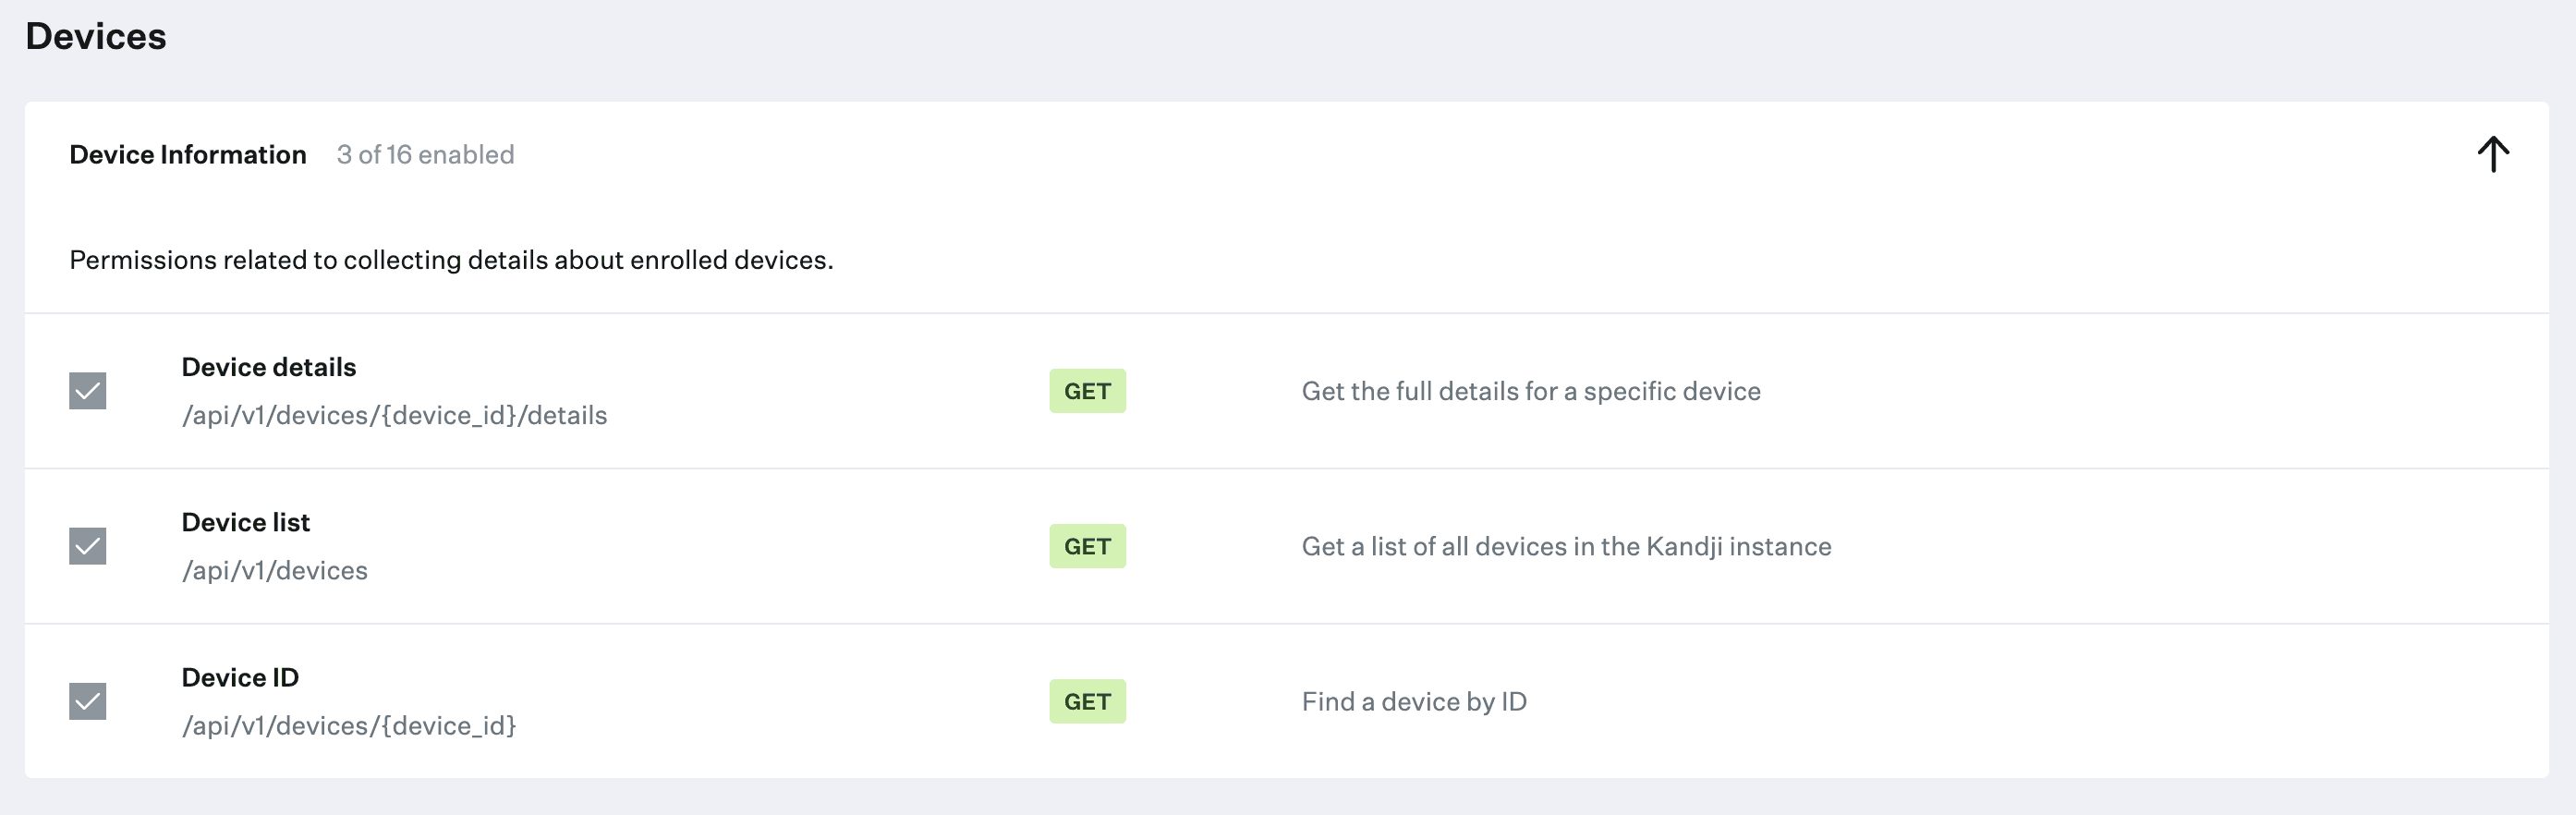
Click Configure on the new token and enable the following permissions:
- Device list (
GET /api/v1/devices) - Device ID (
GET /api/v1/devices/{device_id}) - Device details (
GET /api/v1/devices/{device_id}/details)
No other permissions are needed. Click Save.
Step 3: Configure in Pult
- In the Pult Dashboard, go to Settings → Presence → MDM Settings.
- Click Add Integration and select Kandji.
- Fill in the fields:
- API URL -- shown in your Kandji API token settings
- API Token -- from Step 1
- Click Save.
Pult validates the credentials on save. Devices will be synced on the next periodic sync cycle.
Last updated on Apr 20, 2026, 10:32 PM